In order to make the hologram, we scrambled through a lot of our materials that we already had available at home, to stay with in the project budget. Since our project focuses on making the hologram projector, the iPad Pro that is used to demonstrate the hologram is outside the scopes of the project and does not contribute to the budget cost. Although we have referenced a guide on how to build a Hologram Projector, we remedied some of the needed material and focused on creating a bigger projector that would work for an iPad Pro.
Here is a list of the items required to make the Hologram Projector:
- Coloured Sharpies (already had available)
- Scissors/sharp knife (already had available)
- Glue stick (already had available)
- Ruler calibrated in centimetres (already had available)
- White Foam Cardboard (2 CAD)
- Thin clear Tape (2 CAD)
- Sturdy Transparent acrylic sheets (5 CAD)
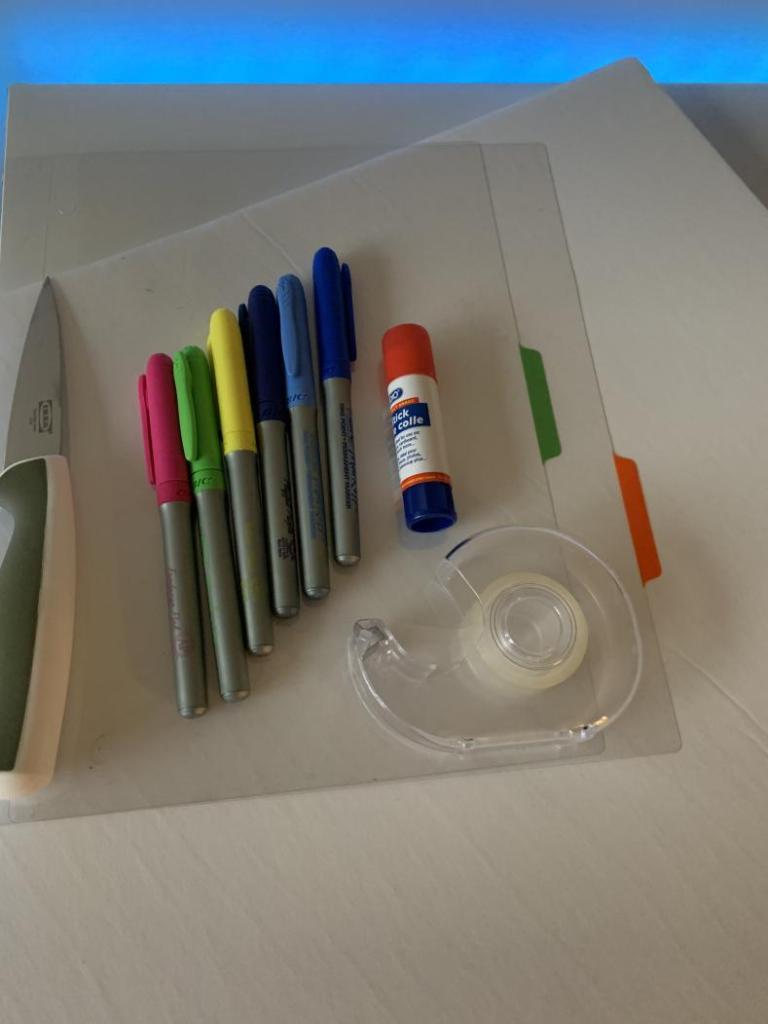
Total Cost = ~10 CAD
How to make a Hologram Projector:
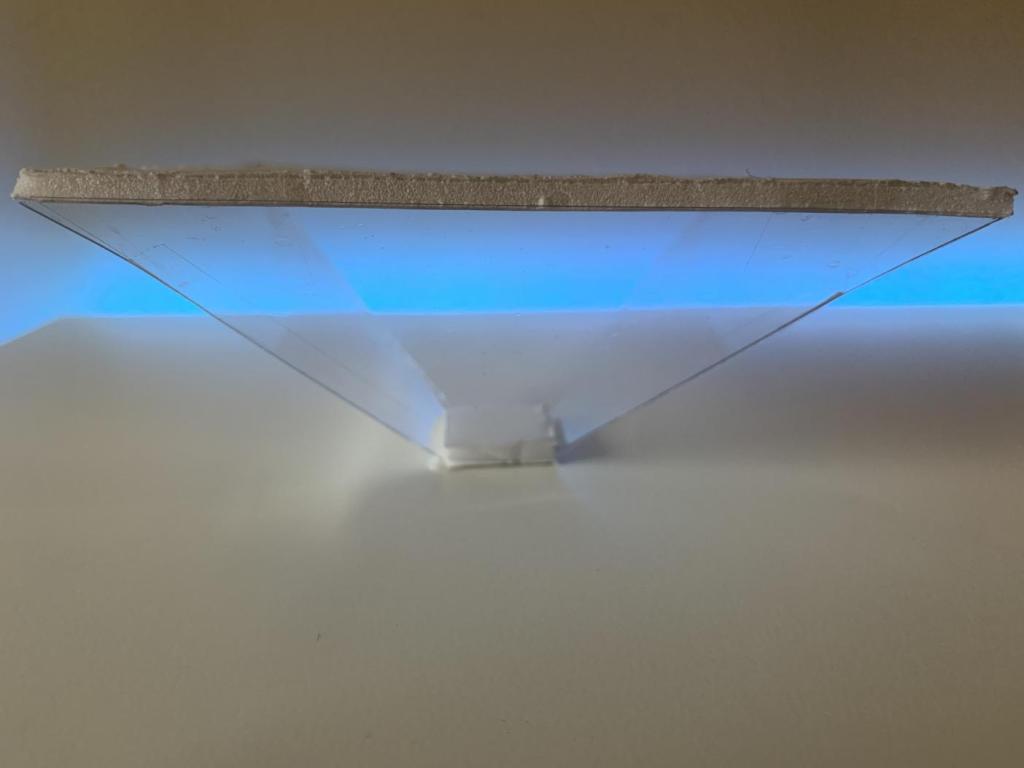
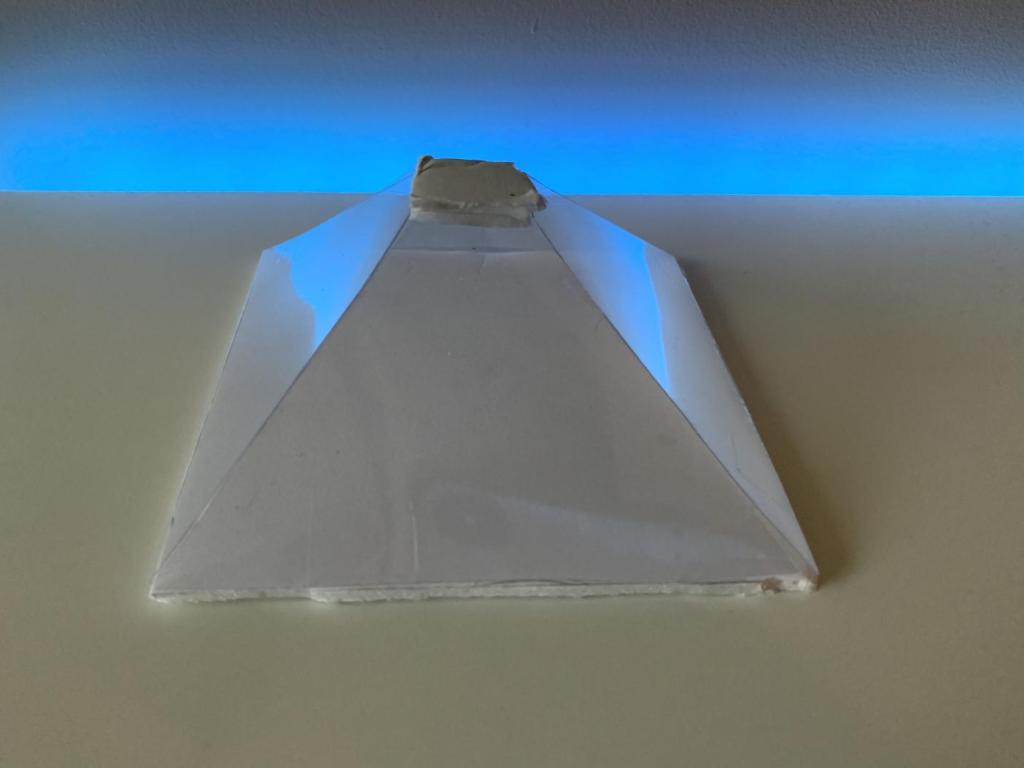
Step 1: Cut the Transparent acrylic sheets into 4 similar sized trapezoids into the correct size using the established ratio ( 4cm x 14 cm x 20cm )
Step 2: Use the clear tape to attach the 4 trapezoids to each other
Step 3: Cut the foam board into a 4cm x 4cm square shape for the bottom of the prism and a 20cm x 20cm square shape for the top of the prism.
Step 4: Use the glue stick to attack the 4 square foam board to the top and the bottom edges of the prism.